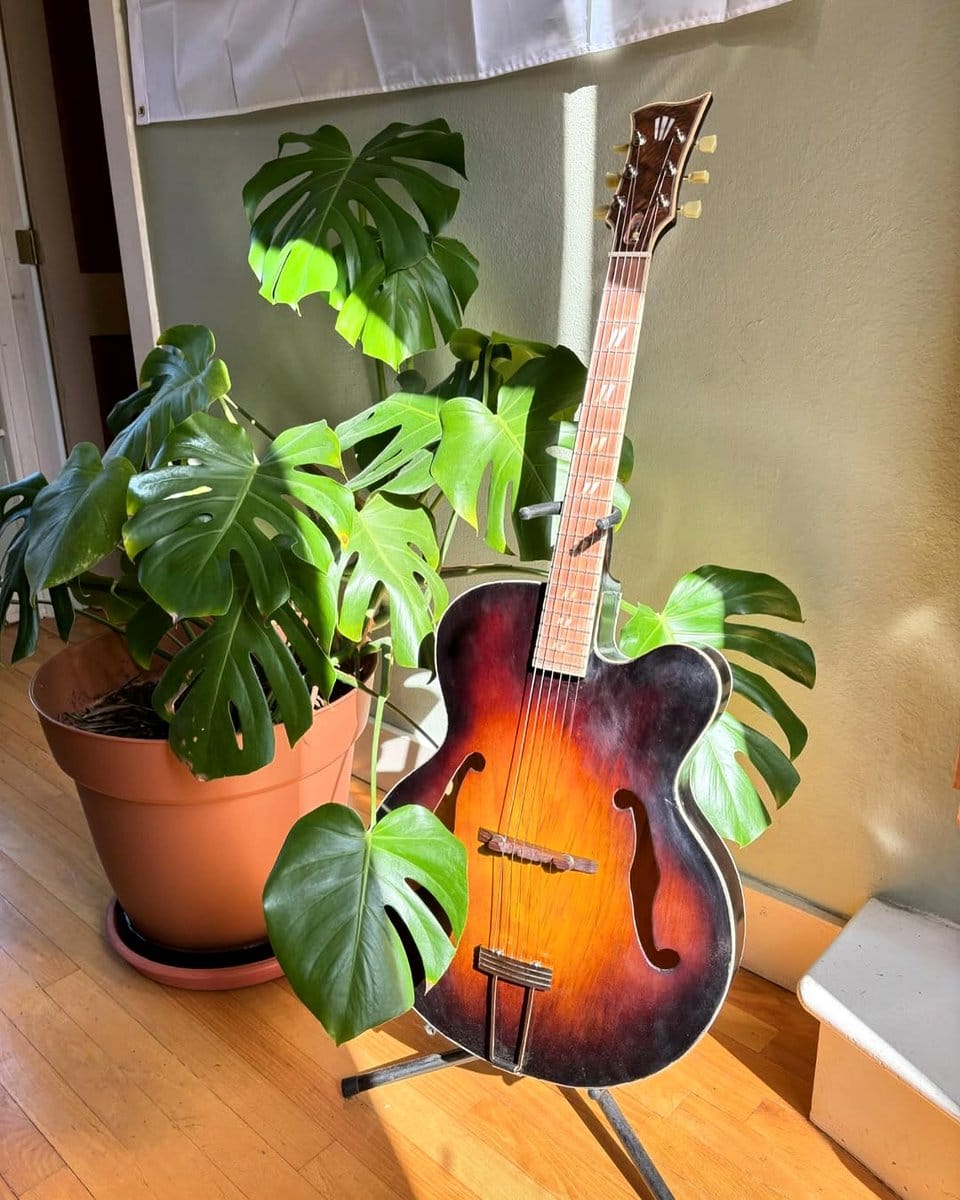
Have you ever considered turning an old guitar into a unique piece of decor? If you're a music lover or just someone who appreciates quirky home projects, the guitar planter conversion might be for you. It's a fun and creative way to repurpose an instrument that's seen better days. Not only does it add a touch of personality to your space, but it also gives new life to an object that might otherwise end up in a landfill. Let's dive into some imaginative ways you can transform a guitar into a stunning planter.
1. Choosing the Right Guitar
When selecting a guitar for your planter project, consider its size and material. Acoustic guitars are typically more spacious, providing ample room for soil and plants. Plus, their wooden bodies add a rustic charm. Ensure the guitar is no longer playable, as you’ll be cutting into it. Check local thrift stores or ask friends for an unused guitar. A pre-loved instrument not only saves money but also adds a story to your creation.
2. Preparing Your Workspace
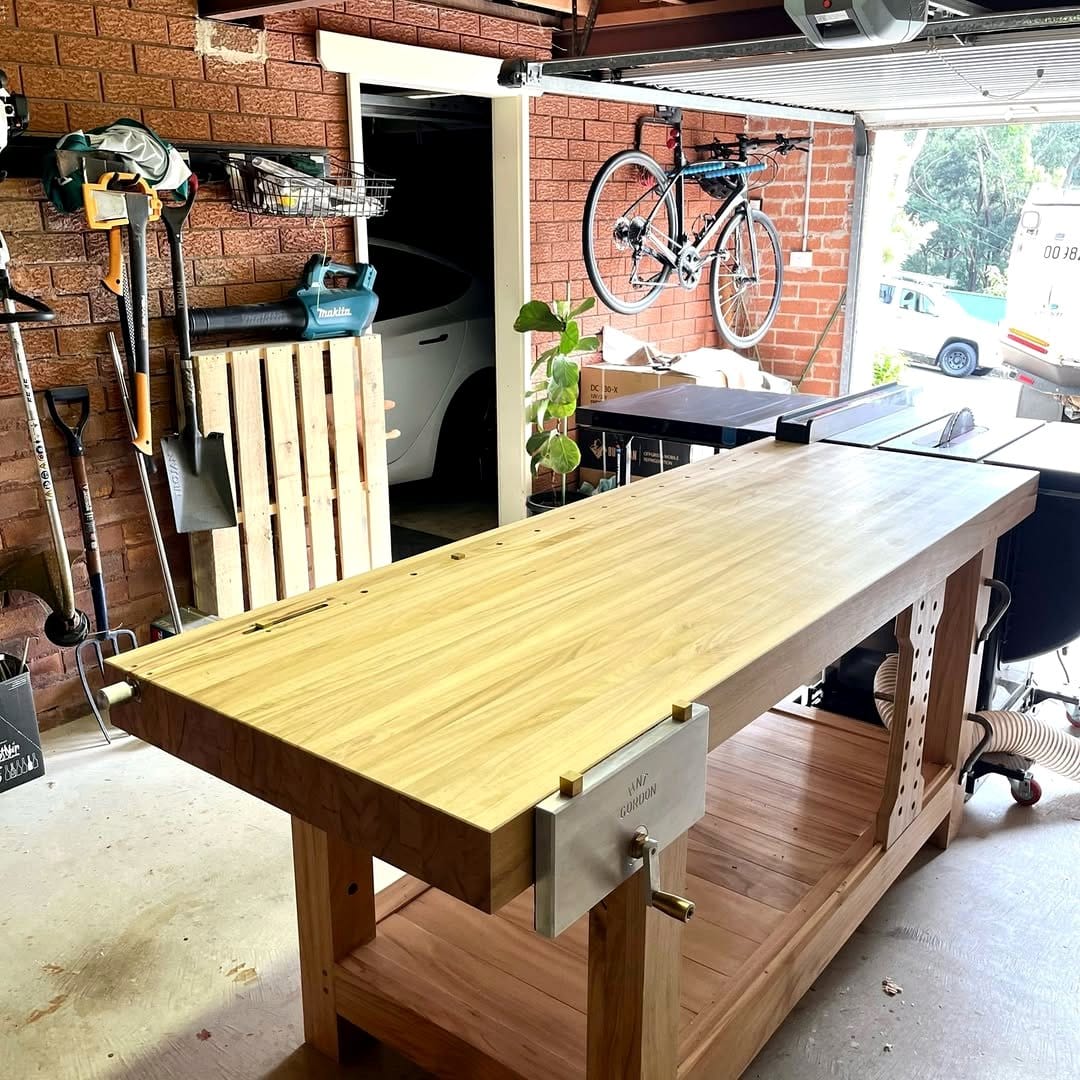
Before you start, set up a clean, organized workspace. You’ll need a saw, drill, sandpaper, and safety gear. Lay down a protective sheet to catch sawdust and debris. A well-prepared area makes the process smoother and safer. Ensure that your tools are in good condition and easily accessible. This way, you can focus on the fun part of the project without unnecessary interruptions.
3. Hollowing the Guitar Body

Begin by removing the guitar's strings and components. Carefully cut an opening in the front of the guitar body. Use a saw to create a space large enough to fit your chosen plants. Be gentle to avoid cracking the wood. Sand down rough edges for a clean finish. This step is crucial as it shapes the main planter area. Patience and precision here will pay off in the final look.
4. Creating Drainage Holes
For your plants to thrive, ensure proper drainage. Drill several small holes in the bottom of the guitar body. This allows excess water to escape, preventing root rot. If your guitar has a curved back, use a level surface to guide your drilling. Proper drainage is key to a successful planter and healthy plants.
5. Adding a Liner

To protect the guitar’s wood from moisture, line the inside with heavy-duty plastic or a landscaping fabric. Secure it with non-toxic adhesive. This barrier will extend the life of your planter and keep it looking fresh. Choose a liner that’s slightly larger than the guitar’s opening, allowing it to be secured without gaps.
6. Selecting the Right Soil

Choose a high-quality potting mix suitable for the plants you intend to use. Consider a mix with good drainage properties, especially if you plan to grow succulents or cacti. Fill the lined guitar body with soil, leaving room for your plants. The right soil promotes healthy growth and supports your plant's needs.
7. Choosing Your Plants

Select plants that fit your aesthetic and care ability. Succulents are a popular choice due to their low maintenance and unique shapes. However, small herbs or ferns can also thrive. Consider the light and moisture levels in your chosen display area. Matching plant types to your environment ensures they flourish.
8. Planting Techniques

Carefully place each plant into the soil, arranging them for visual balance. Gently press the soil around the roots to secure them. Water lightly after planting to help them settle. This step breathes life into your project, turning a musical relic into a living piece of art.
9. Adding Decorative Elements

Enhance your guitar planter with decorative stones, moss, or small figurines. These additions personalize your creation and add texture. Use elements that complement your plant selection and guitar finish. This final touch elevates your planter from functional to fabulous.
10. Displaying Your Guitar Planter

Find the perfect spot to showcase your guitar planter. Consider areas that receive adequate sunlight if your plants require it. Whether it’s on a balcony, in a living room corner, or as a centerpiece, the guitar planter is sure to catch eyes and spark conversations.
11. Maintaining Your Guitar Planter

Regular maintenance is key to your planter’s longevity. Water your plants according to their needs and prune them to prevent overgrowth. Check the guitar for any signs of wear or water damage. With proper care, your guitar planter will remain a beautiful, thriving feature in your home.
12. Seasonal Plant Swaps

Keep your guitar planter vibrant year-round by swapping plants seasonally. This keeps the display fresh and allows you to experiment with different plant types. Spring blooms, summer herbs, or autumn foliage can refresh your planter’s look and feel.
13. Incorporating Lighting

Add a magical touch by incorporating lighting. String lights or small LED fixtures can highlight your planter, creating a cozy atmosphere. Ensure that any electrical components are safe for outdoor use if your planter is exposed to the elements.
14. Using the Guitar Neck

Don’t overlook the guitar neck. Use it to support climbing plants or vines. Wrap them gently around the tuning pegs or let them cascade downwards. This creates a dynamic visual flow and uses every part of the guitar creatively.
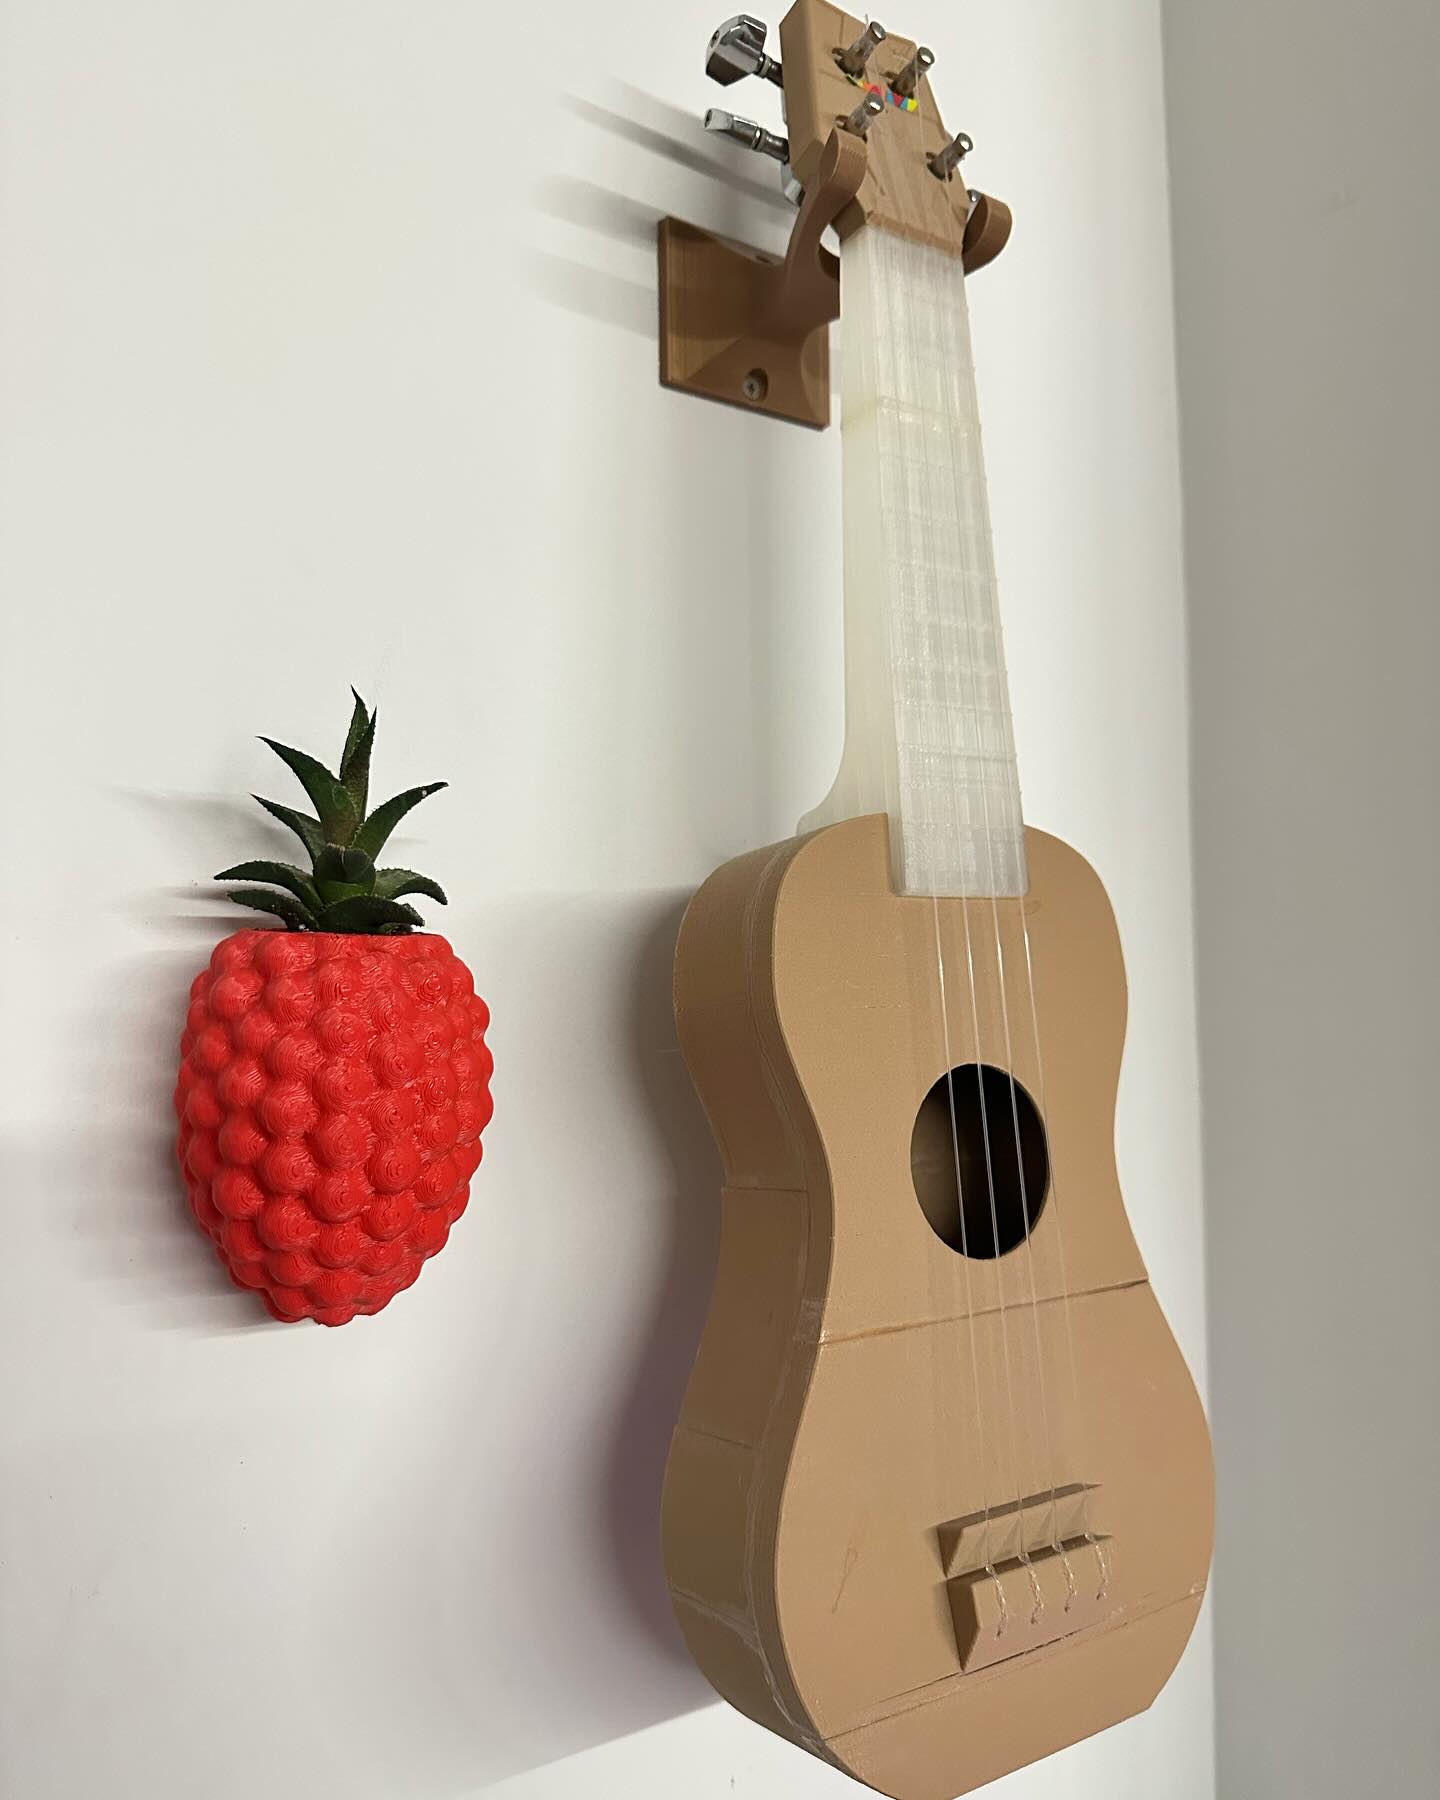
15. Hanging Your Planter

For a unique display, hang your guitar planter on a wall or fence. Use sturdy hooks and ensure the weight is evenly distributed. A hanging planter saves space and creates an eye-catching vertical garden.
16. Themed Planter Ideas

Consider a themed guitar planter for added fun. Create a beach vibe with shells and sand, or a woodland feel with pinecones and bark. Themes can reflect your personal style or compliment your home’s decor.
17. Sharing Your Creation

Capture your completed guitar planter with photos and share your masterpiece with friends or on social media. Inspire others to embark on their own creative projects. Your unique planter might just start a trend among your circle.
Final Thoughts
Turning an old guitar into a planter is not just a creative project; it’s a way to make a statement about sustainability and personal style. Each step in the process allows for personal expression, and the end result is a functional piece of art. Whether you’re a seasoned DIY enthusiast or a beginner, this project is both rewarding and accessible. So, why not give it a try and transform an old instrument into a vibrant planter that brings music and nature into harmony? Happy crafting!